Follow Me On Social Media!
How to Grow Microgreens: Easy Steps for Fresh, Flavorful Food
Introduction to Growing Microgreens
Imagine stepping into your kitchen and snipping a handful of vibrant, fresh microgreens right from a sunny windowsill. Growing microgreens is not only simple but also incredibly rewarding — and you don’t need a green thumb to get started. These tiny, nutrient-packed plants provide a burst of flavor and color to your dishes, elevating everything from salads to sandwiches. Let’s dive into the world of microgreens and explore why they’re worth cultivating in your home.
What are microgreens and why should you grow them?
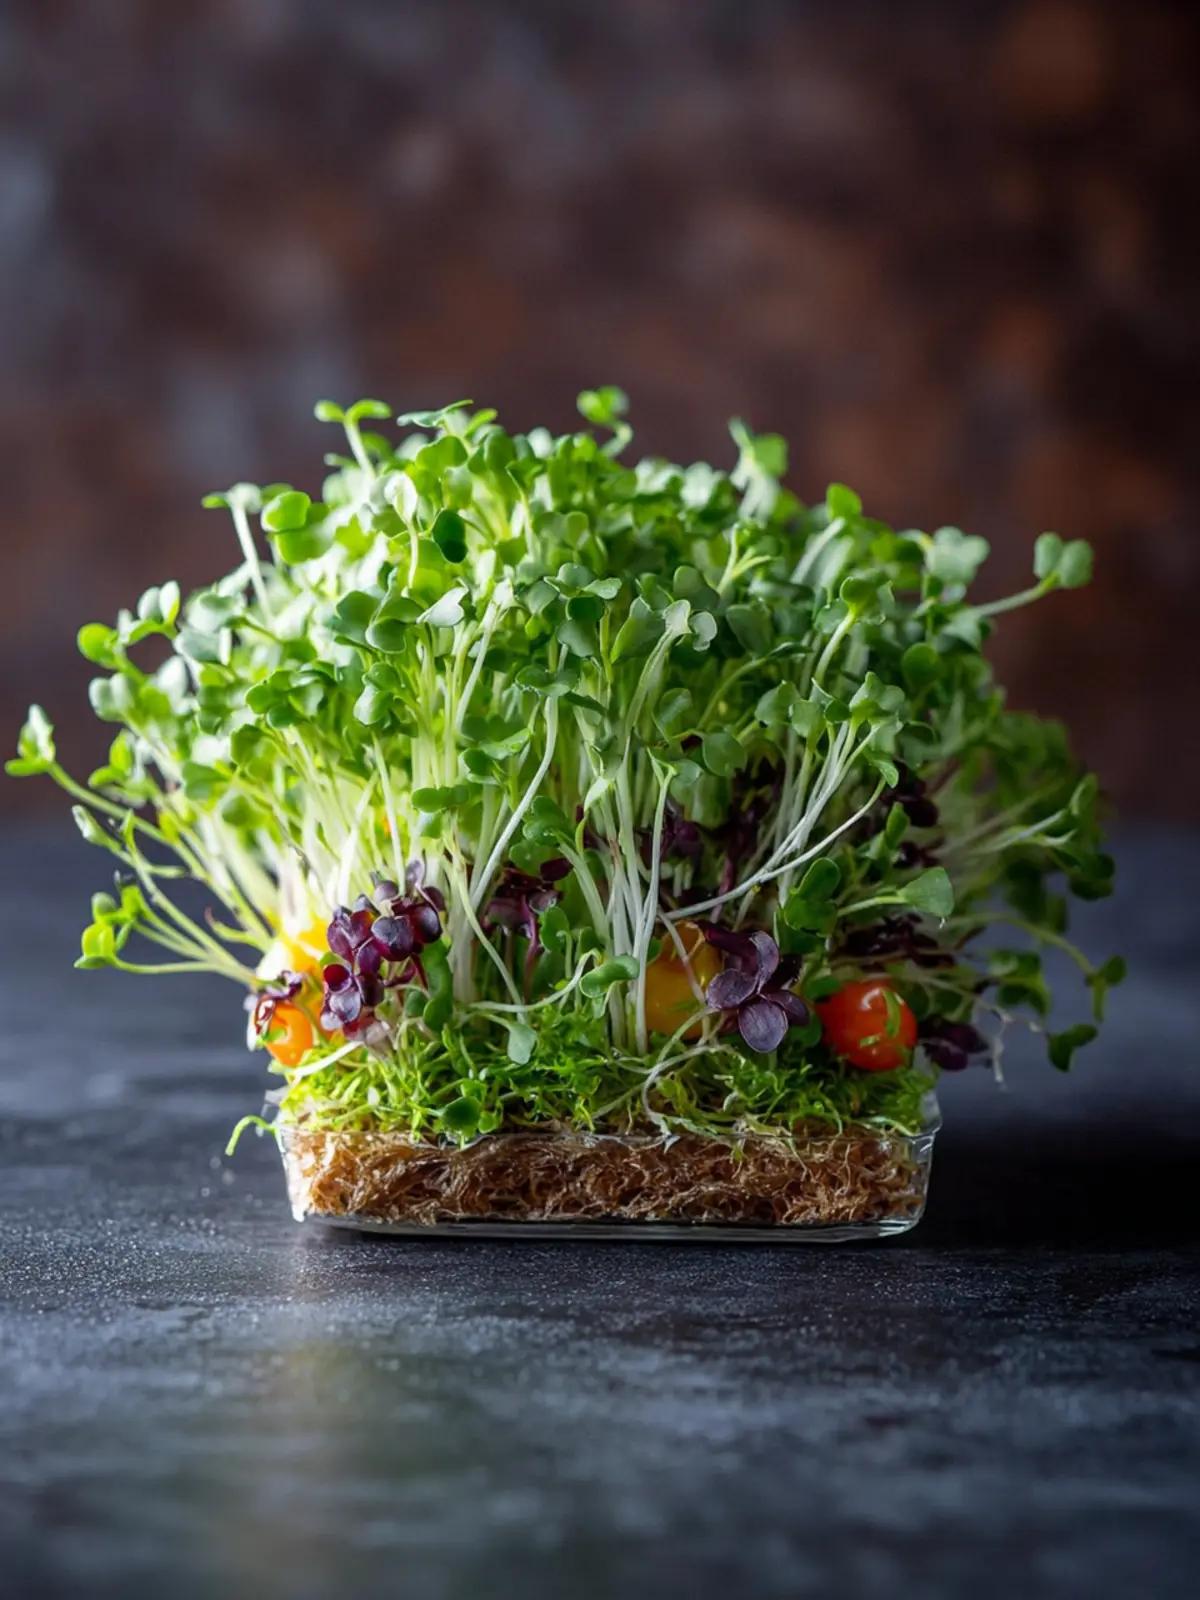
Microgreens are young, edible seedlings of herbs and vegetables, typically harvested just after the first true leaves have developed. Varieties like basil, radish, and sunflower are popular choices, each offering unique flavors, textures, and nutritional benefits. What’s fascinating is that these tiny greens pack a punch! In fact, studies show that microgreens can contain up to 40 times more nutrients per gram than their mature counterparts.
So why should you embark on your journey of how to grow microgreens? Here are some compelling reasons:
- Quick Growth: Unlike traditional gardening, microgreens sprout within 7 to 21 days, allowing you to enjoy homegrown produce in a matter of weeks.
- Space-Efficient: Ideal for city dwellers or those with limited gardening space, microgreens can thrive in small containers on your balcony, countertop, or even a windowsill.
- Nutritional Powerhouse: Adding microgreens to your meals can dramatically boost your dietary nutrient intake, providing vitamins and minerals essential for a healthy lifestyle.
- Flavor Enhancer: These little greens can provide an exciting flavor boost to salads, soups, and even smoothies, making them a versatile addition to your culinary toolkit.
- Cost-Effective: Growing your own microgreens can save you money in the long run, especially if you frequently buy fresh herbs and greens from the store.
As you think about how to grow microgreens, imagine the satisfaction of incorporating your very own homegrown greens into your meals. With just a little effort, you can bring a sprig of freshness right to your table and delight in the flavors and health benefits they provide.
Now, let’s explore the specific requirements for growing these delightful little plants in the next section!
Key Ingredients for Growing Microgreens
So, you’re curious about how to grow microgreens? Well, let me take you into the world of these vibrant little greens that not only pack a nutritional punch but also spark joy in any home garden.
Seeds
Choosing the right seeds is paramount. I recommend organic seeds specifically meant for microgreens. Popular options include broccoli, radish, and basil. They grow quickly and add a wonderful flavor to salads and sandwiches.
Growing Medium
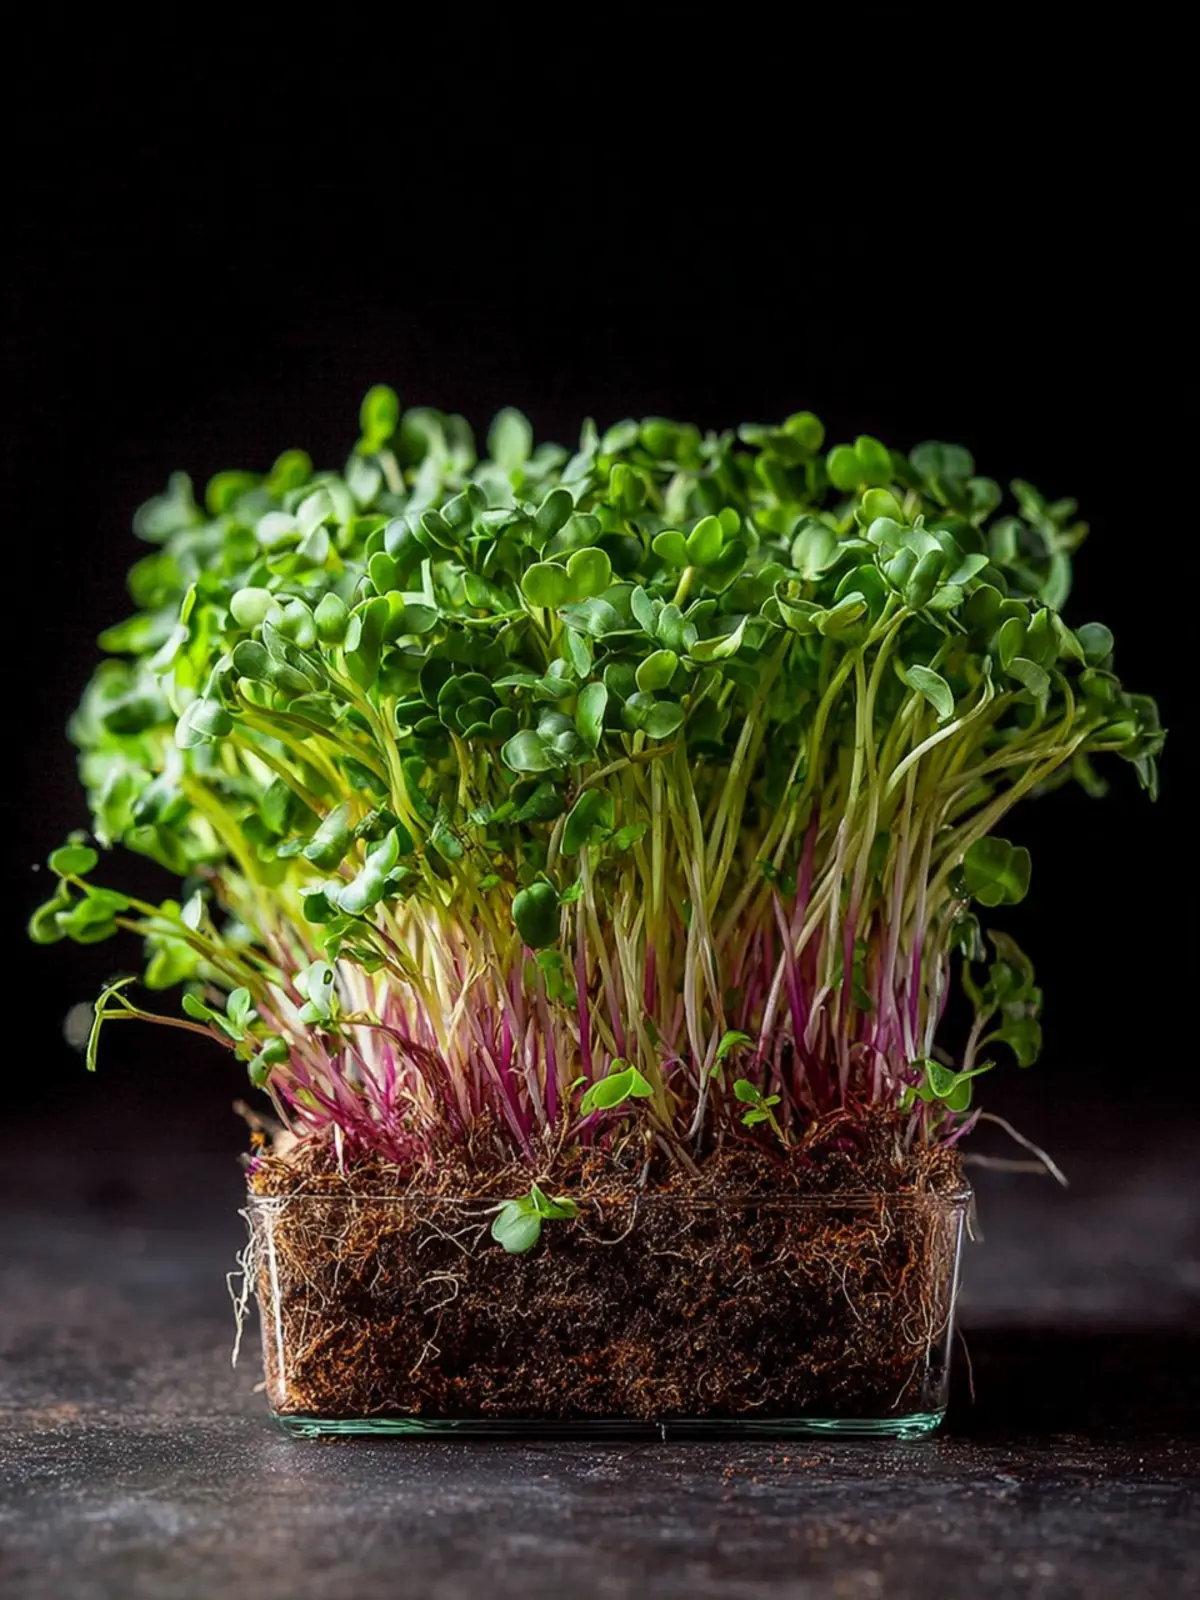
A quality growing medium is essential for microgreens. I love using a seed-starting mix because it holds moisture well. You can also opt for coconut coir or a hydroponic mat; both keep roots healthy and thriving.
Water
Keep a close eye on watering. Microgreens need consistent moisture but be careful not to overwater. I typically use a spray bottle to gently mist the soil, ensuring it’s damp without becoming soggy.
Light
Adequate light is key. If natural sunlight is scarce, consider using grow lights. Microgreens thrive with about 12-16 hours of light each day, which really helps them develop that luscious green color.
Armed with these ingredients, you’re well on your way to successfully growing microgreens!
Why You’ll Love Growing Microgreens
Imagine standing in your kitchen, surrounded by tiny pots of vibrant greens growing right before your eyes. Growing microgreens isn’t just about adding a splash of color to your meals; it’s an enriching journey that connects you with nature and enhances your culinary creations.
Instant Gratification
One of the beauties of learning how to grow microgreens is the quick turnaround. From seed to harvest, you’re looking at about 7 to 21 days. In our fast-paced lives, that’s practically instant gratification! Whether you have a green thumb or are just getting started, you’ll be amazed at how easy it is.
Nutritional Powerhouse
Did you know that microgreens are packed with nutrients? Studies show they can contain up to 40 times more vitamins and minerals than their mature counterparts. Adding these little superfoods to salads, sandwiches, or smoothies not only enhances flavors but boosts your health.
Culinary Creativity
Imagine the possibilities: crisp radish microgreens on your avocado toast, or a handful of sweet pea shoots adding a fresh burst to soups. As you experiment with different varieties, you’ll discover your favorite flavor profiles, making each meal a unique experience.
In a world of convenience foods, growing microgreens offers a refreshing, rewarding activity that nourishes both body and mind. Why not give it a try? Your taste buds will thank you!

Tips for Successful Microgreens Growth
Growing microgreens can be a delightful journey, offering instant gratification as you watch these tiny plants sprout and flourish. After diving into the process of how to grow microgreens, you’ll want to ensure you’re set up for success. Here are some essential tips to help you achieve a thriving mini garden.
-
Choose Quality Seeds: Investing in high-quality seeds is crucial. Select reputable sources that offer organic or non-GMO varieties. This not only ensures better germination rates but also enhances the flavor of your microgreens.
-
Optimal Growing Medium: A well-draining potting mix or a specialized microgreen soil provides essential nutrients for healthy growth. Avoid using garden soil as it may contain pests and diseases.
-
Light is Key: Position your trays near a south-facing window or use grow lights to ensure your microgreens receive at least 12-16 hours of light daily. Good lighting encourages strong, vibrant growth.
-
Moisture Control: Keeping the soil consistently moist, but not soggy, is vital. A gentle misting can help maintain the right moisture levels without overwhelming the plants.
-
Mind the Temperature: Most microgreens thrive in temperatures between 65°F to 75°F. Maintaining a stable environment can significantly affect growth rates and yields.
By following these straightforward tips, you’ll not only enjoy the process of how to grow microgreens but also maximize the flavor and freshness of your harvest!
Time Breakdown for Growing Microgreens
Growing microgreens is not only enjoyable, but it’s also a fantastic way to add fresh flavors to your meals. If you’re eager to dive into the world of microgreens, understanding the time required for each stage is essential.
Preparation Time
Gather your seeds, containers, soil, and water—this initial preparation will take about 15 to 30 minutes. Make sure everything is clean and ready for planting to ensure the best results.
Sprouting Time
Once you’ve sown your seeds, they typically need around 5 to 14 days to sprout. This timeframe can vary based on the seed type and environmental conditions, so keep an eye on their growth.
Total Time
From preparation to harvest, growing microgreens takes from 1 to 2 weeks. This brief commitment for such a rewarding culinary addition makes it well worth the effort!

Nutritional Benefits of Microgreens
Microgreens pack a punch in a tiny package, transforming ordinary meals into nutritional powerhouses. As you explore how to grow microgreens, you’ll soon discover that these vibrant greens are more than just a garnish; they offer significant health benefits.
Vitamins
Microgreens are abundant in essential vitamins, especially vitamins A, C, and E. For example, red cabbage microgreens can contain up to 40 times more vitamin C than mature cabbage, giving your immune system a delightful boost.
Minerals
These little greens also deliver a wealth of minerals, including calcium, magnesium, and potassium. Adding microgreens to your diet can contribute to stronger bones and better heart health, making them a must for any salad or sandwich.
Antioxidants
Rich in antioxidants, microgreens help combat oxidative stress in your body. They can reduce inflammation and lower the risk of chronic diseases, reinforcing the idea that small changes, like incorporating microgreens, lead to big benefits in your overall health.
FAQs about Growing Microgreens
Growing microgreens is more than just a hobby; it’s a rewarding experience that brings the garden right to your kitchen. These tiny plants are packed with flavor and nutrition, making them essential for anyone looking to elevate their culinary creations. In this section, we’ll explore some frequently asked questions about how to grow microgreens effectively.
How long do microgreens take to grow?
From seed to garnish, most microgreens typically require 7 to 21 days to reach harvest readiness depending on the variety. For instance, quick-growing varieties like radish or mustard greens can be ready in as little as a week, while heartier types like sunflowers may take about 14 days. Timing is essential; regular monitoring will ensure you harvest them at their peak flavor.
Can I grow microgreens indoors year-round?
Absolutely! One of the beauties of growing microgreens is that they thrive indoors, making it possible to cultivate your greens all year round. Just ensure they have access to adequate light—whether from a sunny windowsill or supplemental grow lights. This flexibility means you can enjoy fresh greens, no matter the season!
What are the best conditions for growing microgreens?
To achieve the best results when learning how to grow microgreens, consider the following conditions:
- Light: Aim for 12 to 16 hours of light daily, using natural sunlight or grow lights to support growth.
- Temperature: Keep your growing environment between 65°F and 75°F for optimal germination and growth.
- Watering: Mist your microgreens to keep the soil consistently moist but not soggy, preventing mold and rot.
- Soil: Use a nutrient-rich soil blend or a seed starting mix to provide your microgreens with the best start.
By understanding these aspects, you can create a thriving indoor garden that enhances your meals with fresh, homegrown flavor!
Conclusion on Growing Microgreens
Growing microgreens can transform your home gardening experience into a rewarding journey of flavor and freshness. These tiny powerhouses not only add vibrant color to your meals but also pack a nutritional punch. As you embark on this fun and easy path, remember to monitor the moisture levels and give your greens ample light. Whether you enjoy them in salads, sandwiches, or as a garnish, the satisfaction of nurturing your own microgreens is unparalleled.
So roll up your sleeves and enjoy the simple pleasure of watching your garden grow—there’s nothing quite like the taste of greens grown with care.
Print
Microgreens Sprouting Guide
- Total Time: 7-10 days
- Yield: Several servings of microgreens
- Diet: Vegan
Description
A simple guide to sprouting microgreens like broccoli, radish, kale, and more.
Ingredients
Scale
- 2 tablespoons sprouting seeds (broccoli seeds, radish, kale, chard, arugula, cilantro, chia, buckwheat, etc.)
- 1 5″ x 7″ inch container with lid (or use plastic wrap or beeswax wrap)
- 1 5″ x 7″ inch growing mat
- Water
- 1 window
Instructions
- Soak seeds according to directions on the package (6-8 hours). This will hasten sprouting time. Drain. Alternatively, if you choose, you can skip soaking and spray the seeds with water using a spray bottle, once they are on the mat. This is what I typically do.
- Soak the growing mat (you want this quite wet) and place it in the container.
- Spread out the seeds as evenly as possible; sometimes giving the container a little shake will help.
- Cover tightly and place near a window. If you don’t have a lid, use plastic wrap or bees wrap to keep the moisture in. If it is freezing outside, place it a foot away or so. Inspect daily.
- When most of the seeds have sprouted (this may take up to 5 days), remove the lid. (You may notice some white webbing; this is OK). Keep by the window and water daily. As the sprouts get rooted in the mat, you could drench the pad with water, then pour off the extra water.
- Let the sprouts grow into tall microgreens, with little leaves, for 7-10 more days, watering daily.
- To use, cut off what you need at the base with scissors, leaving the rest to grow. Sprouts keep best if they are growing! If you absolutely must store them, place them in a sealed zip lock bag with damp paper towels in the fridge. They will keep 5-7 days.
Notes
- Sprouting seeds can vary in flavor and nutrition; experiment with different types!
- Ensure consistent moisture for optimal growth.
- Prep Time: 10 minutes
- Category: Gardening
- Method: No cooking required
Nutrition
- Serving Size: 1 handful