Follow Me On Social Media!
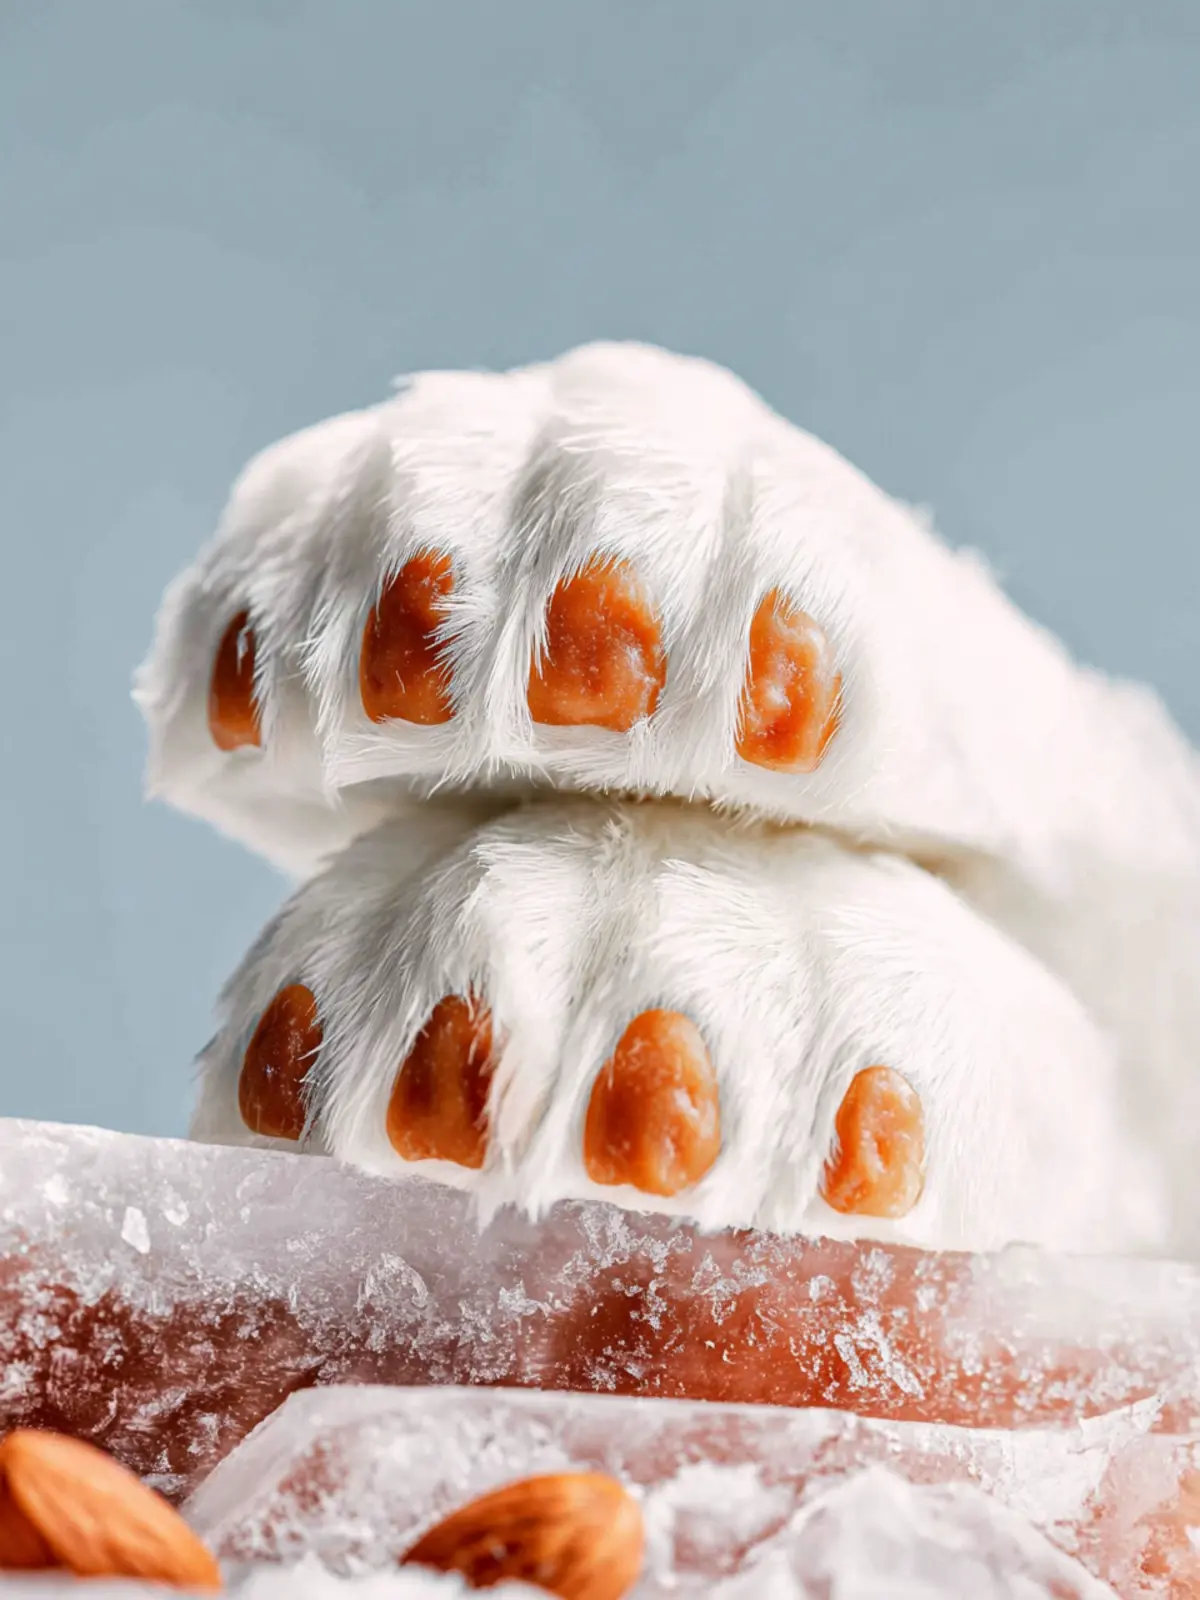
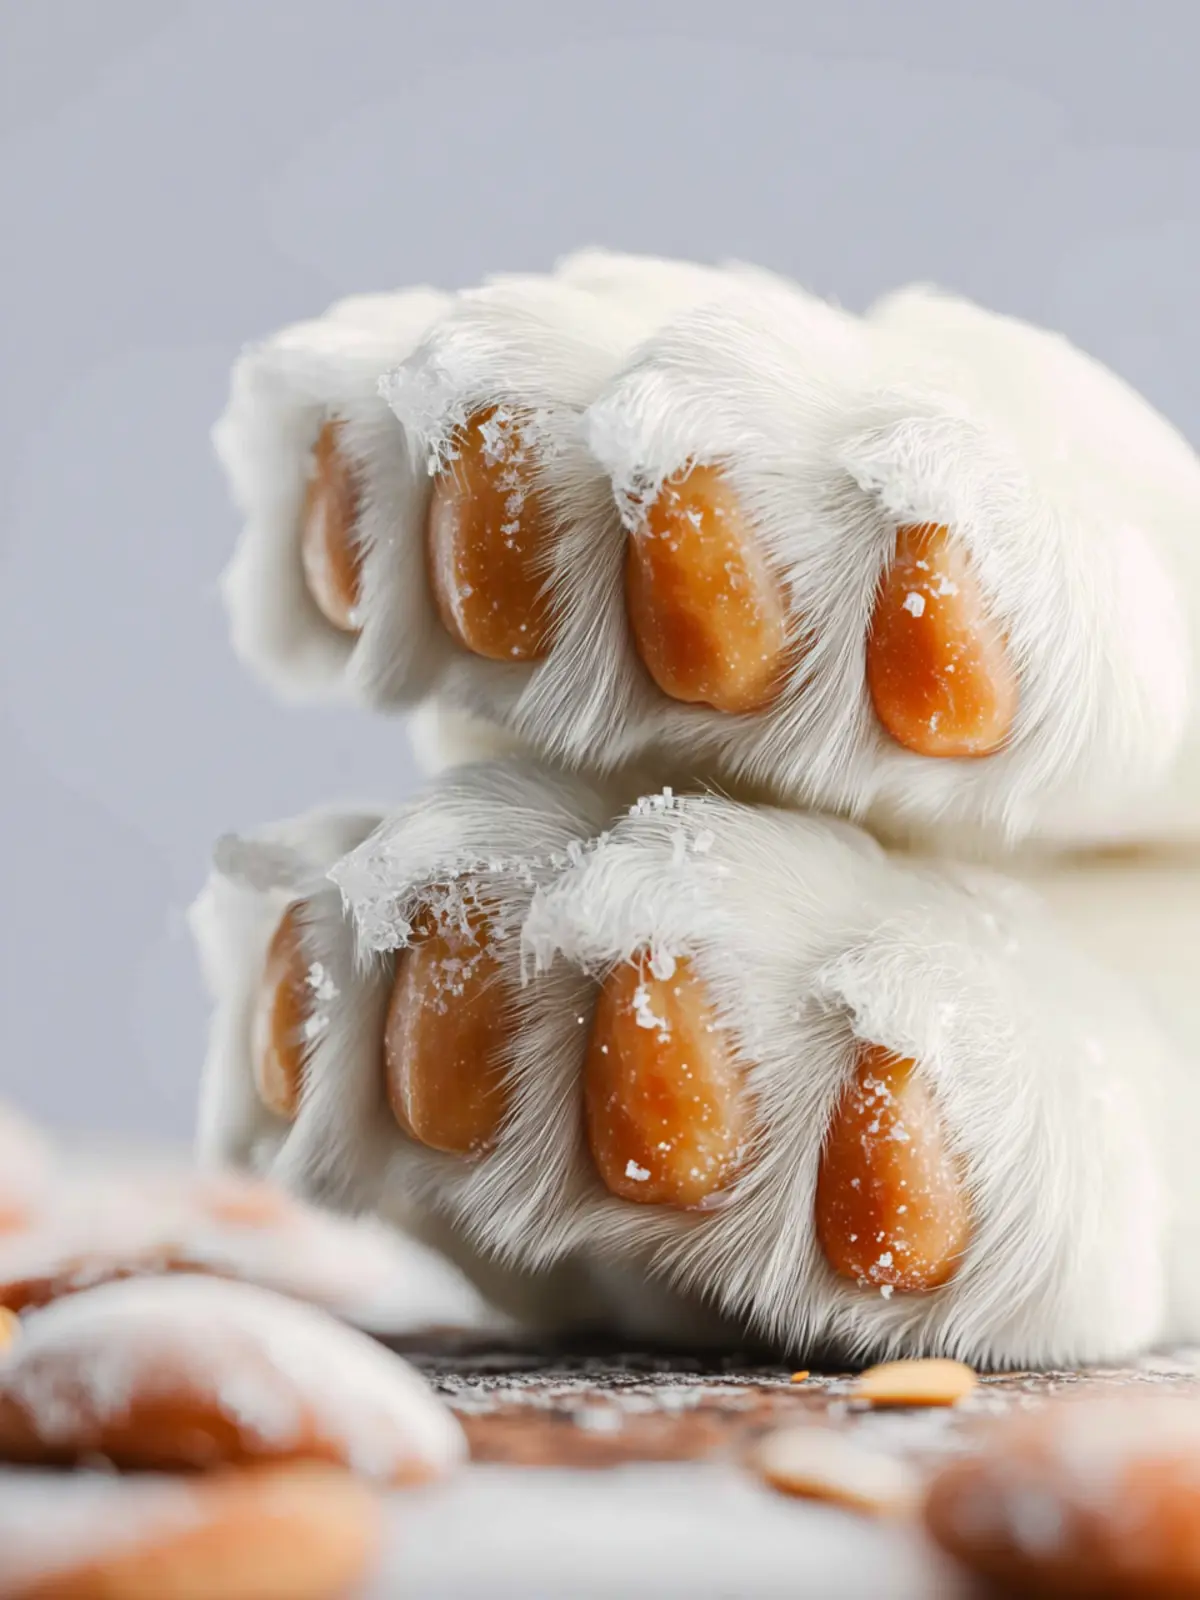
Polar Bear Paws: Irresistibly Chewy Treats You’ll Love
Introduction to Polar Bear Paws
Imagine a delightful treat that embodies the cozy essence of winter and brings warmth to your heart, and that’s precisely what Polar Bear Paws offer. These delightful snacks are not just a recipe; they’re a nostalgic nod to simpler times, when baking meant bringing family together for sweet moments and laughter. With their creamy texture and rich flavors, Polar Bear Paws are destined to become a cherished favorite in your home.
What makes Polar Bear Paws so special? It’s all in the layers of flavor and texture. These sweet delights are typically made with a mix of chewy and crunchy elements that create a satisfying bite. The combination of chocolate, peanut butter, and a hint of sweetness comes together to form an indulgent treat that doesn’t just satisfy a sweet craving; it tells a story with every bite. The creamy layers are perfect for sharing or enjoying solo while curling up with your favorite book.
The beauty of Polar Bear Paws lies in their versatility. You can customize the ingredients, swapping out certain elements to suit your taste or dietary needs. Want a nut-free version? Simply replace the peanut butter with sunflower seed butter. Craving a little extra crunch? Toss in some crushed graham crackers or a sprinkle of sea salt on top. The possibilities are endless, making these treats a fun project for both novice and experienced bakers alike.
As you gather your ingredients, don’t forget about the significance of each one in the recipe. The melting chocolate encases the other components, creating a delightful shell that brings everything together. And let’s not overlook the nostalgia factor—these Polar Bear Paws can easily transport you back to childhood kitchen adventures, where the joy of baking led to cherished family traditions.
So, as you embark on making these sweet treats, remember that the process is just as important as the result. Let your creativity shine and enjoy every moment in the kitchen, crafting your own version of Polar Bear Paws.
Key Ingredients for Polar Bear Paws
Creating delightful polar bear paws is all about choosing the right ingredients that contribute to the overall flavor and texture. Let’s dive into what you need for this irresistible treat!
Marshmallows
The star of our polar bear paws is undoubtedly the marshmallows. I recommend using mini marshmallows for an even distribution of sweetness throughout the treat. They melt easily, creating that gooey texture we all love.
Chocolate
When it comes to chocolate, quality matters. I prefer using semi-sweet chocolate chips for that perfect balance of sweetness and richness. Melting them down creates a luscious coating that brings the entire treat together beautifully.
Peanut Butter
A creamy, smooth peanut butter gives your polar bear paws a satisfying, nutty flavor. If you’re a fan of a little extra crunch, feel free to use crunchy peanut butter to add texture.
Graham Cracker Crumbs
Graham cracker crumbs serve as the base for these paws, adding a nice crunch and a hint of sweetness. They play a crucial role in giving the polar bear paws their structure and making each bite delightful.
Veggie Oil
A splash of vegetable oil helps the chocolate coating glide on smoothly, avoiding any clumps and ensuring a beautiful finish. It’s a simple addition that really makes a difference.
These ingredients combined create a unique, delightful treat that’s sure to impress friends and family alike!
Why You’ll Love This Recipe
When you think of decadent treats that evoke warmth and nostalgia, polar bear paws certainly come to mind. These delightful cookies are not just a feast for the eyes; they bring together the perfect medley of textures and flavors that make every bite a delightful experience.
Imagine the joy of biting into a soft, buttery cookie, embraced by a rich layer of chocolate, with that satisfying crunch from the added nuts. It’s like a cozy hug on a plate! Not to mention, this recipe is incredibly versatile, allowing you to swap out ingredients based on what you have on hand. Want to make it nut-free? Go for it! Prefer dark chocolate over milk? No problem—this recipe easily accommodates your preferences.
Making polar bear paws also becomes an event in itself. Whether it’s a casual weekend baking session or a festive gathering with friends, these treats invite laughter and conversation. They’re perfect for snacks or gifting, promising to bring smiles all around. Plus, with simple ingredients that you probably already have, you’ll find that this treat is both accessible and fun to make. So why not gather your friends and family and embark on a joyful baking adventure with polar bear paws? You’ll be glad you did!
Variations
When it comes to polar bear paws, you might be surprised at how easy it is to customize this decadent treat to cater to your taste buds. The essence of this delightful recipe lies in its delicious combination of flavors and textures, so don’t hesitate to get creative!
Nutty Additions
A great way to add some crunch is by incorporating chopped nuts. Walnuts or pecans can add a lovely earthy flavor, while almonds bring a slightly sweet note. Just mix them into the batter or sprinkle them on top for a delightful textural contrast.
Chocolate Variations
If you’re a chocolate lover, you can easily transform your polar bear paws into a double chocolate delight. Simply substitute some of the white chocolate with dark chocolate or add cocoa powder to the dough. Imagine biting into a chocolaty paw that still holds its signature creaminess!
Fruit Swaps
Throwing in dried fruits can brighten the taste while adding a chewy texture. Consider cranberries or cherries for a tart burst of flavor that complements the sweetness. You could even experiment with banana or apple pieces for a softer bite.
Flavor Enhancements
Spices like cinnamon or nutmeg can lend a warm touch that’s perfect for cozy gatherings. A drop of peppermint extract can also elevate the experience, especially during the holiday season.
Get inspired and don’t shy away from making these polar bear paws your own masterpiece!
Cooking Tips and Notes
Creating delightful polar bear paws is a fun and rewarding experience, especially when you’re equipped with a few handy tips.
Choose Your Chocolate Wisely
For the best flavor, opt for high-quality chocolate. The richness of the chocolate will greatly enhance the taste of your polar bear paws. Brands with a higher cocoa content often deliver a more intense chocolate flavor, which balances beautifully with the other ingredients.
Perfecting the Dough
It’s essential to chill your dough before shaping. This not only makes it easier to handle, but it also helps maintain the shape of your polar bear paws while baking. A short rest in the fridge can make a world of difference in texture!
Customizing Your Filling
Don’t hesitate to get creative with your fillings. While this recipe may suggest one type of filling, using different nut butters or even fruit preserves can produce exciting variations. Personalize your polar bear paws to reflect your favorite flavors!
Storing Tips
To keep your polar bear paws fresh, store them in an airtight container at room temperature. If you’re preparing ahead of time, consider freezing them; this makes it easy to grab a delicious treat on the go.
Enjoy the Process
Finally, remember that baking is an art. Don’t rush it! Enjoy the process—witness the transformation of ingredients into delectable polar bear paws, and let those culinary instincts guide you. Happy baking!
Serving Suggestions
Bringing out the best in your polar bear paws treats is all about complementary flavors and creative plating. These delightful morsels can be enjoyed in various settings, making them an excellent choice for gatherings or everyday snacks.
When serving, consider these ideas:
-
Pair with Hot Beverages: The creamy texture of polar bear paws makes them an ideal companion for a warm cup of coffee, tea, or hot chocolate. Imagine indulging in a chocolatey delight while basking in the warmth of your favorite drink—it’s pure bliss.
-
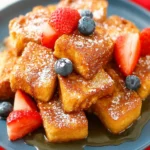
Garnish with Fresh Fruits: For a refreshing twist, serve your polar bear paws with a side of sliced strawberries, banana, or even a dollop of mixed berries. This combination not only adds a pop of color but also balances the sweetness with a hint of tartness.
-
Make it a Dessert Platter: Why not create a dessert platter? Combine polar bear paws with other treats, like brownies, cookies, or mini cupcakes. This variety will please every palate and keep your guests asking for more.
-
Wrap for Gifts: Bundle these treats beautifully in a clear cellophane bag tied with a ribbon. They make a thoughtful gift for friends and family, perfect for celebrating birthdays or just because!
These suggestions will elevate your dessert experience and make your polar bear paws a hit at any occasion.
Time Breakdown for Polar Bear Paws
Creating these delightful Polar Bear Paws is all about enjoying the process, and understanding the time involved can truly enhance the experience. Let’s dive into the breakdown of time for this recipe, so you can plan your day accordingly.
Preparation Time
Getting ready to whip up your polar bear paws takes about 20 minutes. This includes gathering all your ingredients and getting everything prepped just right.
Chilling Time
After your creations are assembled, they need some time in the fridge—typically around 2 hours. This chilling helps the chocolate firm up and gives your paws a delightful texture.
Total Time
In total, you’re looking at approximately 2 hours and 20 minutes to make these delicious treats! With this quick breakdown, you’ll have a clear view of when to start so the magic of polar bear paws can shine at just the right moment.
Nutritional Facts for Polar Bear Paws
When indulging in the delightful treat of polar bear paws, it’s great to know what you’re consuming. This fun recipe brings together flavor and nutrition in a slightly whimsical dessert that’s perfect for gatherings.
Calories
Each serving of these delectable polar bear paws contains about 200 calories. This makes them a delightful yet manageable indulgence for your next coffee break or dessert platter.
Sugar
With an estimated 15 grams of sugar per serving, these sweet treats provide just the right amount of sweetness without being overwhelming. The blend of flavors from the ingredients creates a dessert that satisfies your sweet tooth in moderation.
Protein
One of the notable nutritional aspects is the protein content, which stands at around 3 grams per serving. While not a powerhouse source, it helps contribute to a balanced snacking experience. Enjoy polar bear paws alongside your favorite beverages for a treat that’s both fun and slightly nutritious!
FAQs about Polar Bear Paws
Crafting delicious Polar Bear Paws not only tantalizes your taste buds but also raises a few questions—especially for those who are new to this delightful treat. Let’s dive into some frequently asked questions to help you as you whip up your sweet creation.
Can I use different types of nuts?
Absolutely! While the classic Polar Bear Paws often feature peanuts for that rich, nutty flavor, you can easily substitute them with other nuts like almonds, walnuts, or even pecans. Just keep in mind that different nuts have varying textures and flavors, so choose ones that align with your taste preferences. If allergies are a concern, consider using seeds like sunflower seeds for a similar crunch.
How should I store Polar Bear Paws?
Storing your Polar Bear Paws correctly will ensure they stay fresh and delightful. Once they have cooled fully, place them in an airtight container. If you’d like to keep them for an extended period, consider refrigerating them, as this can help maintain their texture and flavor. Just make sure to layer them with parchment paper to prevent any sticking.
Can I make these ahead of time?
Yes, making Polar Bear Paws ahead of time is a great way to save time for an event or gathering. They can be made a few days in advance, as their flavors can deepen when stored. Just ensure they are properly stored, and you’ll be ready to impress your guests at a moment’s notice!
With these tips, you’re all set to create your own batch of Polar Bear Paws, perfect for sharing or enjoying all on your own!
Conclusion on Polar Bear Paws
Creating polar bear paws isn’t just about baking; it’s a delightful journey, weaving together sweet memories and shared moments. These treats, bursting with chocolate and chewy marshmallows, are perfect for gatherings or a cozy night in. As you savor each bite, consider experimenting with add-ins like nuts or cookie bits to customize your paws further. This recipe offers endless possibilities, ensuring you can craft a version that resonates with your taste. So, gather your ingredients and enjoy the process—because baking is just as enjoyable as the delicious results! Dive into this sweet adventure, and let your creativity roam!
Print
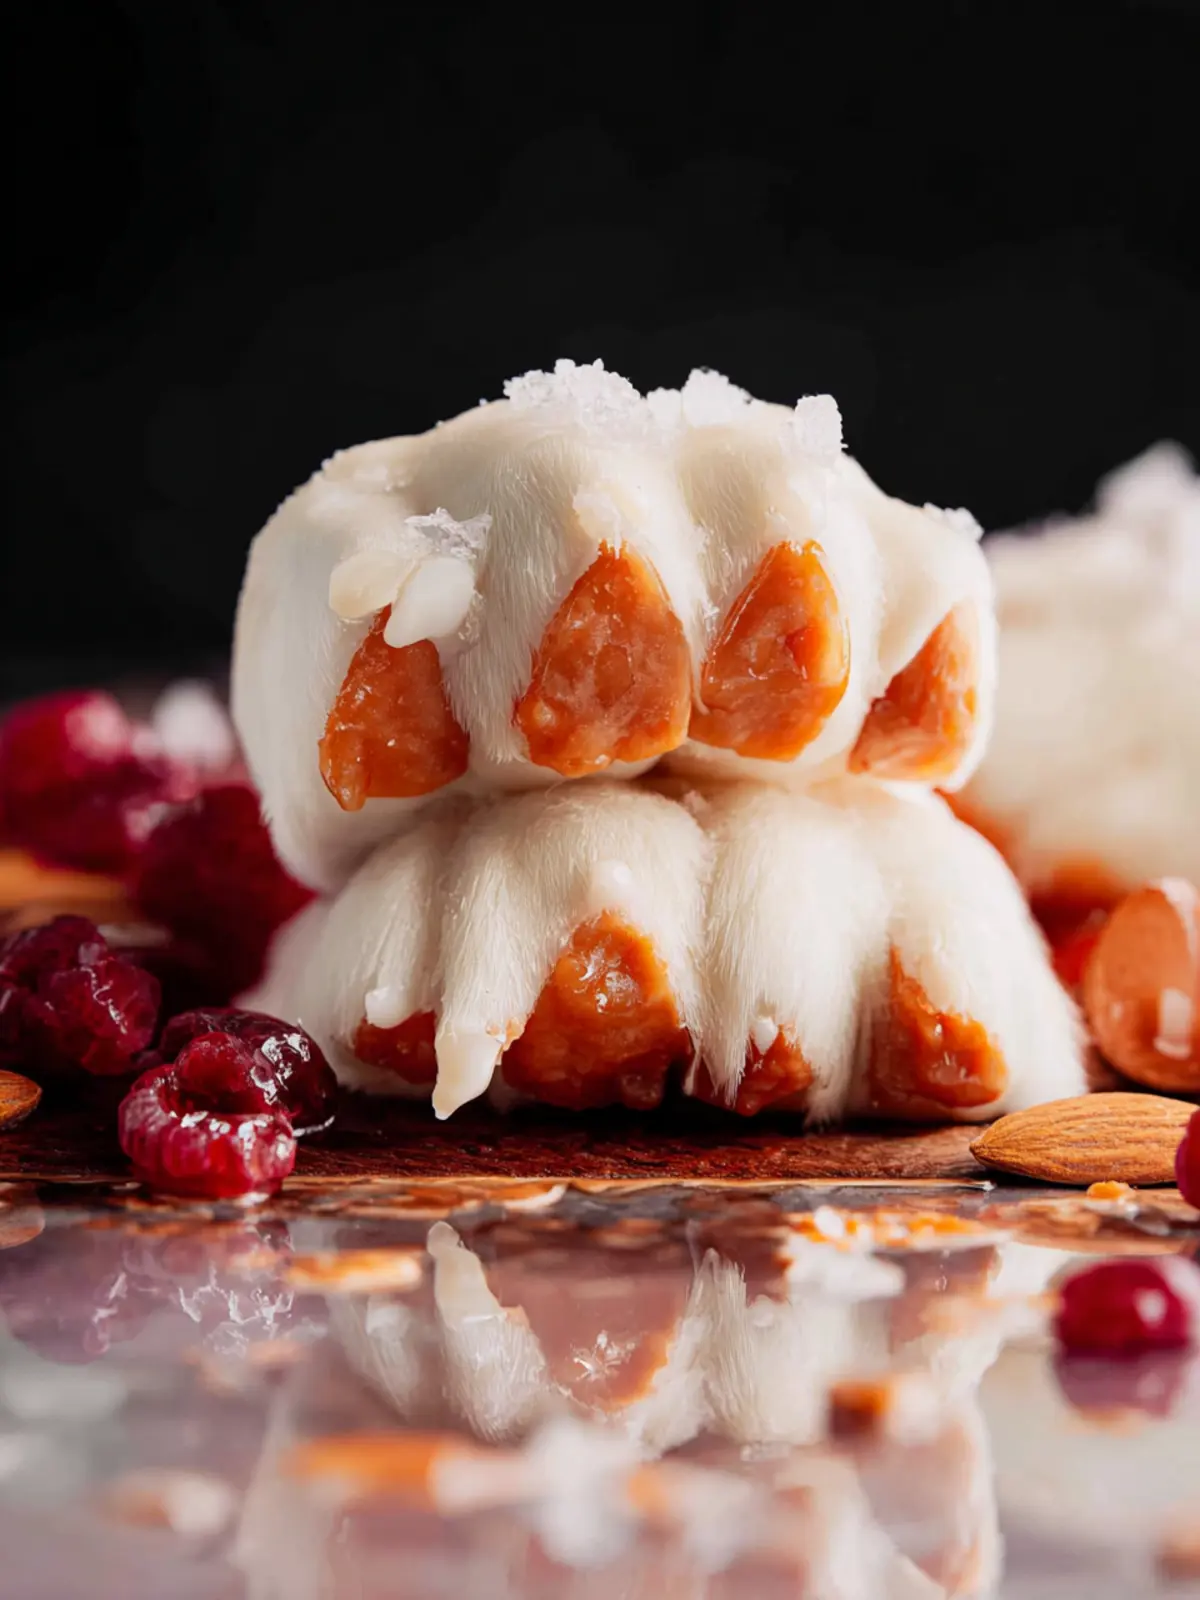
Chocolate-Covered Caramel Clusters
- Total Time: 1 hour 35 minutes
- Yield: 24 clusters 1x
- Diet: Vegetarian
Description
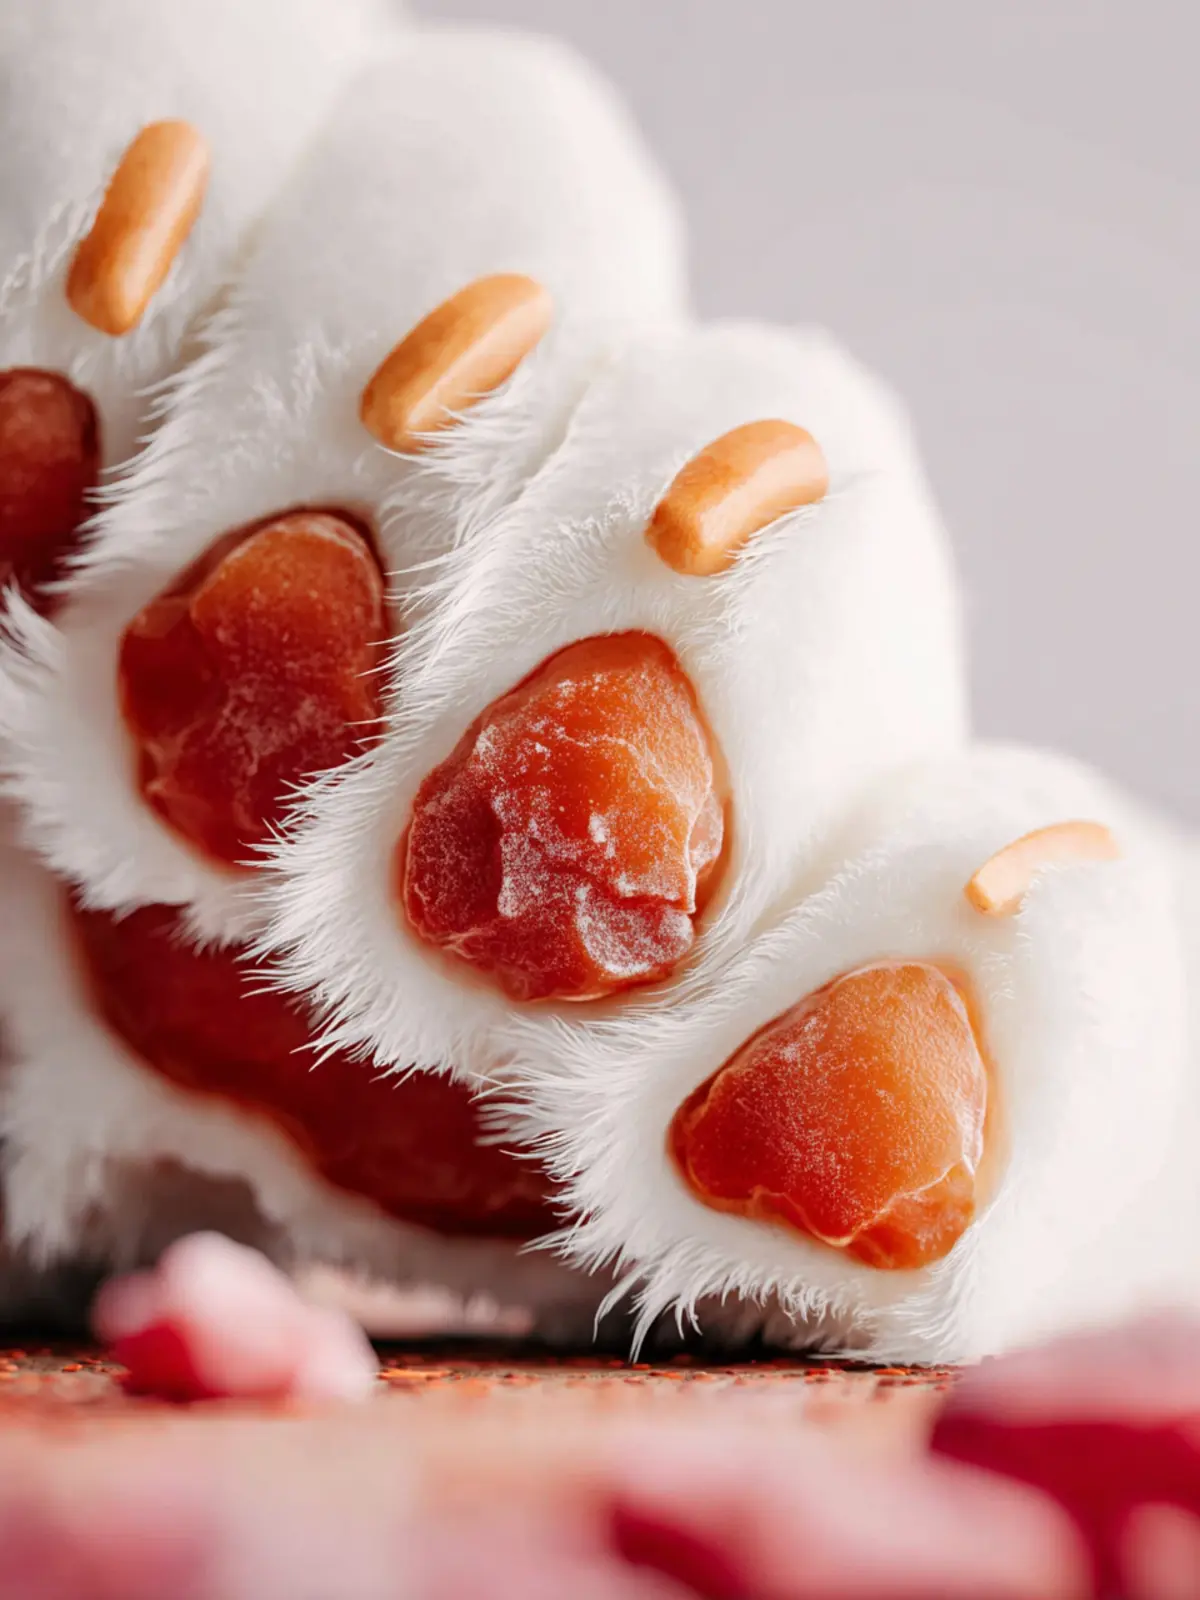
Delicious caramel clusters coated in white chocolate and topped with flaky sea salt.
Ingredients
Scale
- 5 ounces soft Werther’s caramels (unwrapped, (22 caramels) see note 1)
- 1 tablespoon heavy cream
- 1 cup honey roasted peanuts (see note 2)
- 1 cup white chocolate chips (see note 3)
- 1–1/2 teaspoons coconut oil
- Flaky sea salt (optional, for topping)
Instructions
- Line a large sheet pan with parchment paper and set aside.
- Add the caramels and heavy cream to a small pot set over the lowest heat. Stir constantly until completely melted. Be patient and don’t raise the heat or the caramel can turn hard or grainy.
- Remove from heat and stir in the peanuts until fully coated.
- Spoon tablespoon-sized mounds onto the prepared cookie sheet. Very lightly spray your fingers with cooking spray. Press and gently shape into small clusters. Chill in the fridge for about 30 minutes or until set.
- Add white chocolate chips and coconut oil to a small microwave-safe bowl. Microwave in 20 second bursts, stirring well for a full 20 seconds between each interval, until smooth and fully melted. Do not overheat.
- Working with one chilled caramel cluster at a time (keep the rest in the fridge), dip into the melted chocolate. Lift with a fork, tap the fork on the edge of the bowl to remove extra chocolate, then place the coated cluster back on the parchment. Repeat with all clusters. If you’d like, add a tiny sprinkle of sea salt on top.
- Place the pan back in the fridge for 30 to 60 minutes or until the chocolate is fully set. Enjoy or package for gifting!
Notes
- Note 1: Make sure to use unwrapped caramels for easy melting.
- Note 2: Honey roasted peanuts can be substituted with plain peanuts if desired.
- Note 3: Use quality white chocolate chips for the best results.
- Prep Time: 20 minutes
- Cook Time: 15 minutes
- Category: Desserts
- Method: Stovetop, Microwave
- Cuisine: American
Nutrition
- Serving Size: 1 cluster
- Calories: 120
- Sugar: 14g
- Sodium: 20mg
- Fat: 6g
- Saturated Fat: 4g
- Unsaturated Fat: 2g
- Trans Fat: 0g
- Carbohydrates: 15g
- Fiber: 1g
- Protein: 2g
- Cholesterol: 5mg