Follow Me On Social Media!
How to Knead Dough Like a Pro for Perfect Homemade Bread
Introduction to Kneading Dough
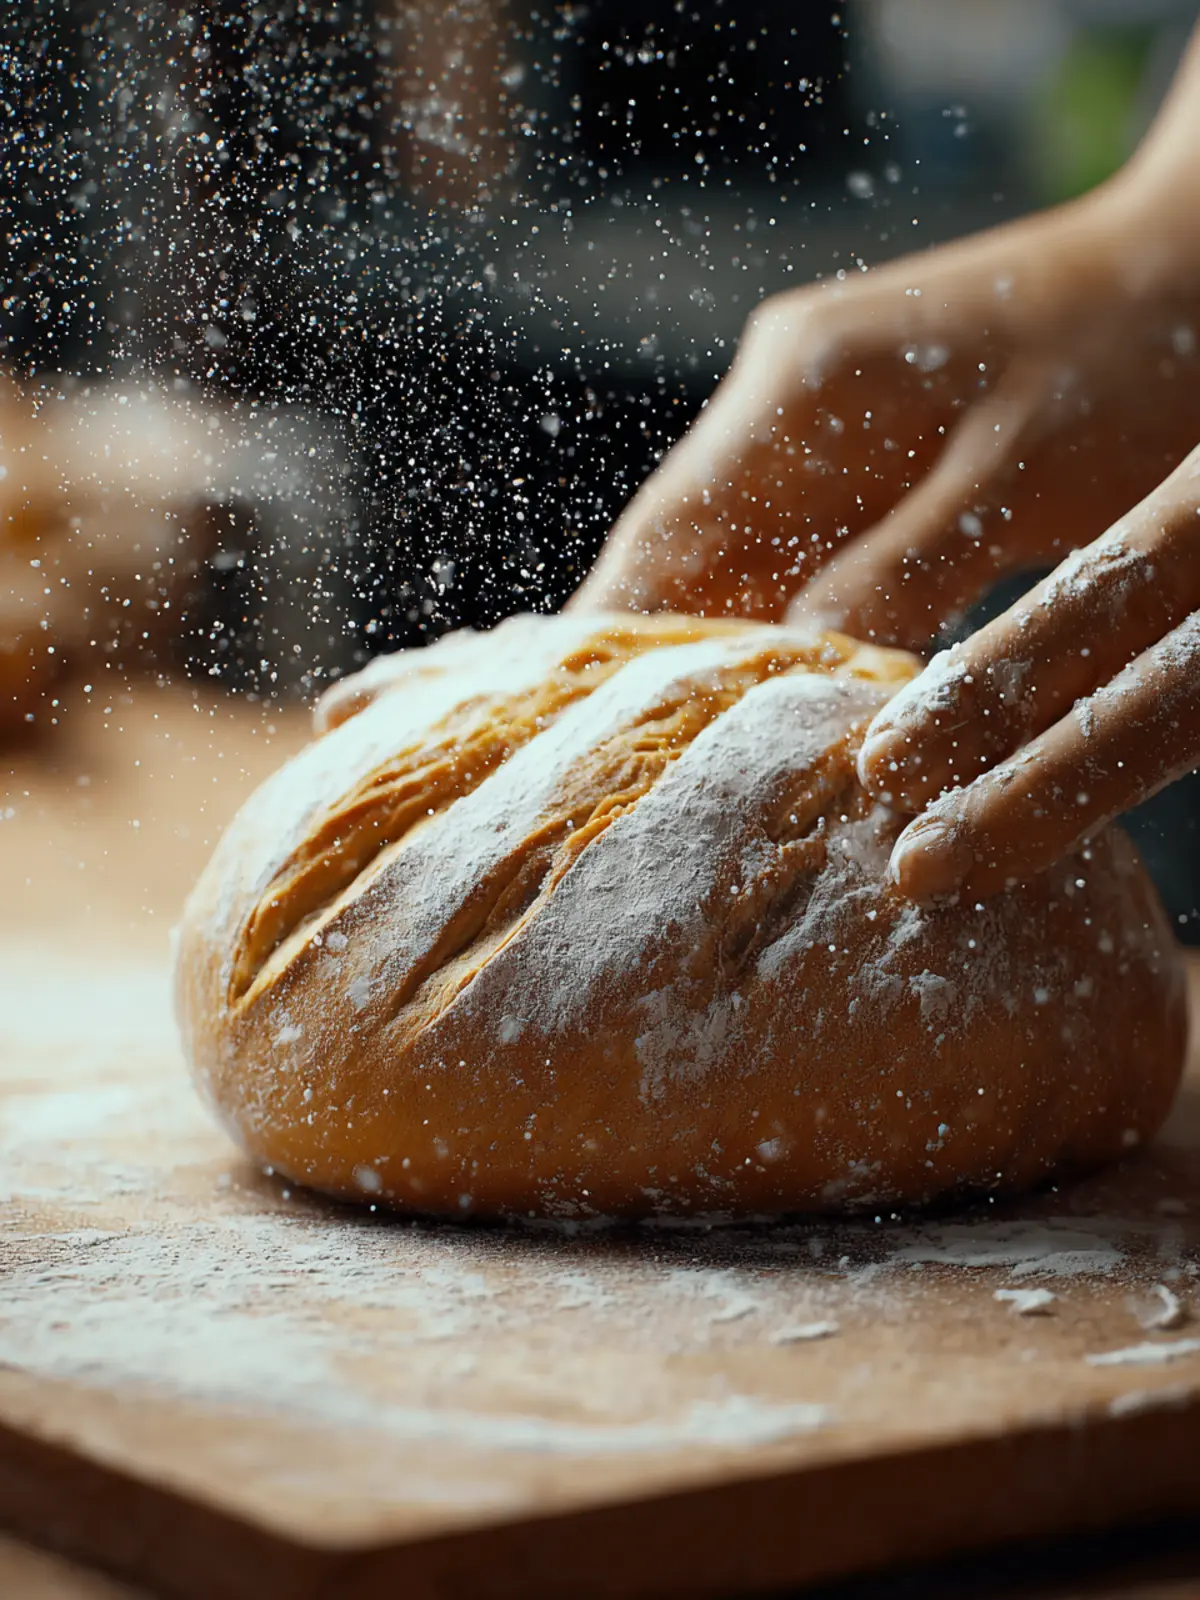
Imagine standing in your kitchen, surrounded by the comforting aroma of freshly baked bread, its golden crust crackling as you tear into it. The secret to achieving that heavenly texture lies in the technique of kneading dough. This foundational step not only develops gluten but also transforms a simple mixture of flour, water, and yeast into something truly magical.
Kneading dough is essential in bread-making for a few key reasons. First, it ensures that gluten, the protein that gives bread its stretch and structure, is developed adequately. The more you knead, the stronger the gluten network becomes, resulting in a lovely chewiness that we all associate with great bread. Second, kneading helps to evenly distribute the yeast throughout the dough, ensuring consistent fermentation and rise.
What Makes Kneading Essential in Bread Making?
When you knead dough, you’re not just mixing ingredients; you’re creating a living, breathing mixture. Here are the main reasons why this step cannot be overlooked:
-
Gluten Development: Kneading stretches the gluten proteins in flour, allowing them to align and form long strands. This is crucial for trapping air bubbles produced by yeast, enabling the dough to rise beautifully.
-
Texture: As you knead, you create a more cohesive dough, which results in a tender crust and moist crumb when baked. The difference between a dense loaf and a light, airy one often comes down to how well you’ve kneaded your dough.
-
Fermentation Control: Kneading also redistributes heat and moisture, which helps yeast work more efficiently. An evenly kneaded dough ferments at a consistent rate, leading to better flavor and structure.
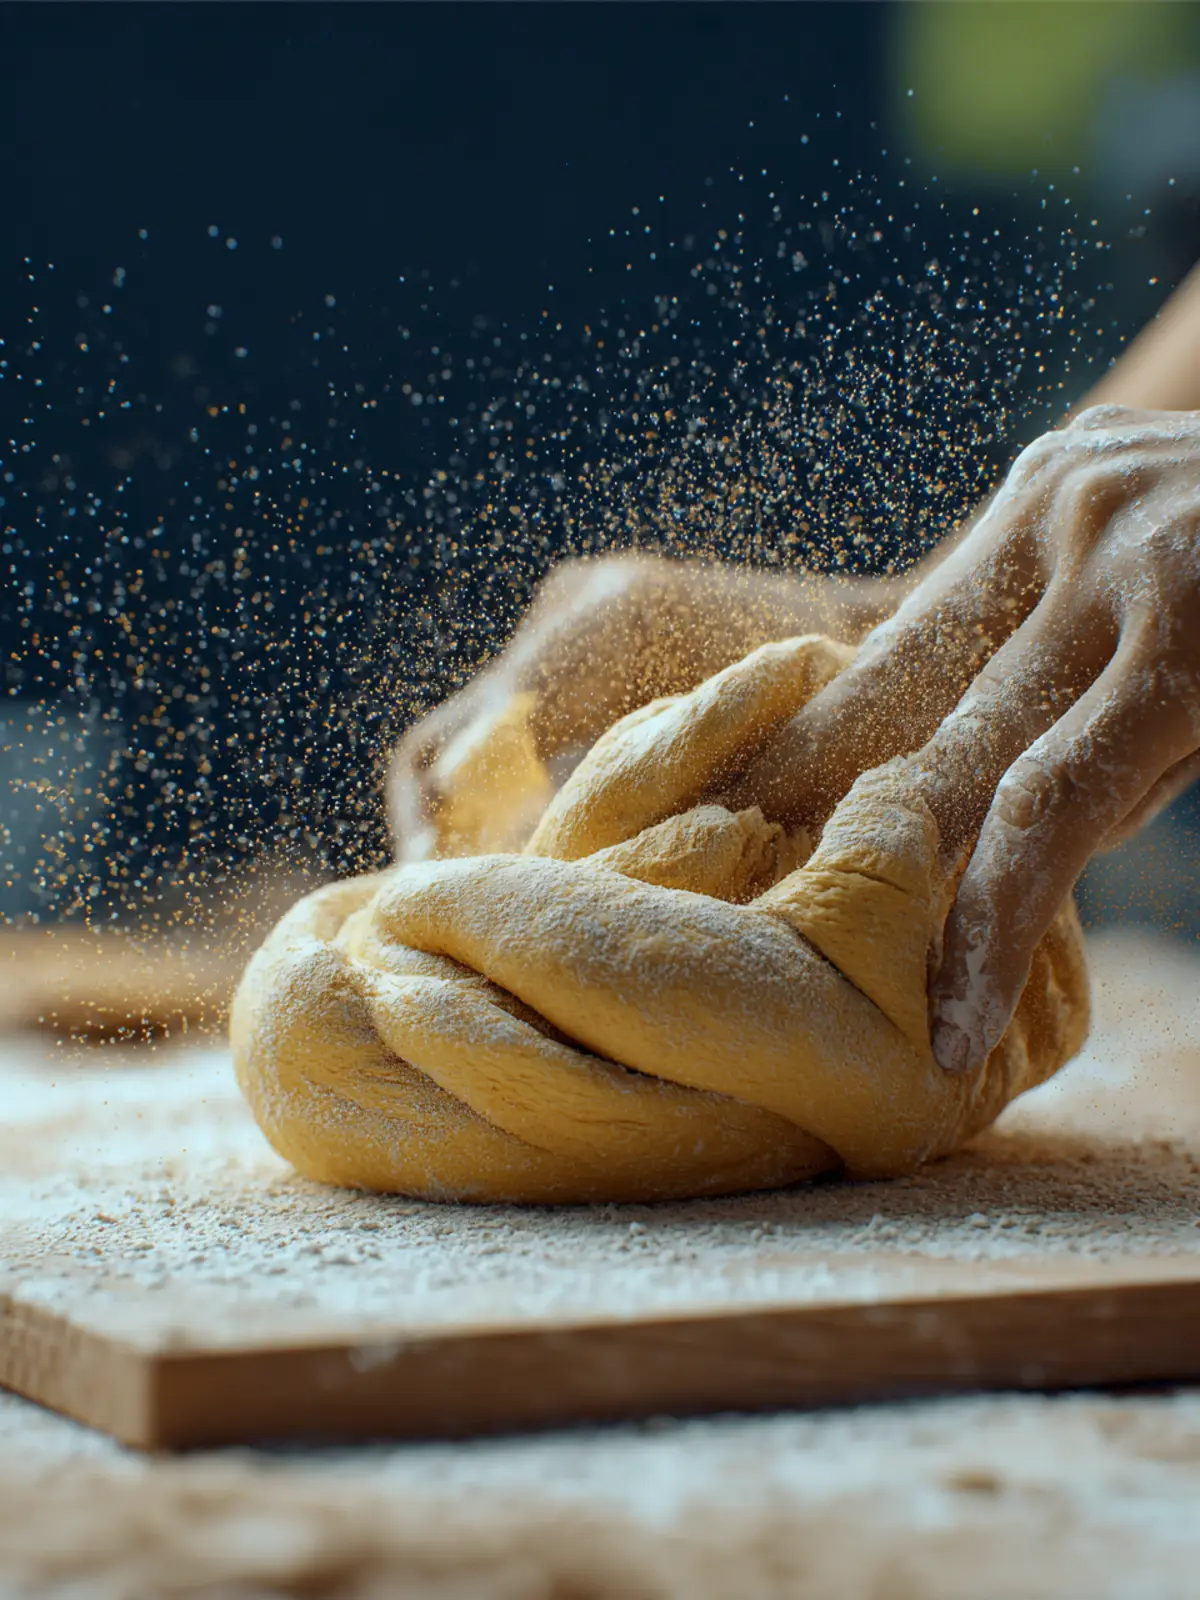
To get the best results when learning how to knead dough, consider using the right technique—whether it’s the traditional push-and-fold or the slap-and-fold method. Each approach will help develop that essential gluten, but finding the method that feels most comfortable for you can make the process a joy rather than a chore. As you practice, you’ll not only enhance your skills but also find a connection to the art of baking that’s both fulfilling and delicious. So roll up your sleeves and get ready to knead your way to some mouthwatering homemade bread!
Key Ingredients for Kneading Dough
Flour: At the heart of how to knead dough is flour, which provides structure. I typically opt for all-purpose flour because it creates a balanced texture, but bread flour can enhance gluten development for a chewier finish. If you’re feeling adventurous, a whole wheat blend can add depth and nutrients.
Water: Hydration is crucial for dough. Using lukewarm water activates the yeast, giving your dough life. I find that the temperature is just right when it feels comfortable to the touch—too hot, and it can kill the yeast!
Yeast: Active dry yeast or instant yeast are my go-tos for a reliable rise. Both bring unique flavors, but instant yeast allows for quicker preparation since it doesn’t need blooming.
Salt: This often-overlooked ingredient not only flavors the dough but also strengthens gluten structure, making the dough easier to handle.
Oil: Adding a bit of oil (like olive or vegetable) can enhance the dough’s texture, making it softer and more pliable. It also helps keep the dough from sticking as you knead.
Why You’ll Love This Recipe
Learning how to knead dough is a wonderfully satisfying skill that will elevate your baking journey. Imagine the aroma of freshly baked bread wafting through your home, instantly creating a warm and inviting atmosphere. Kneading is not just a technique; it can become a cherished ritual that brings you connection, calm, and creativity in the kitchen.
Here’s why this recipe and the process of kneading dough will warm your heart:
-
Therapeutic Motion: There’s something meditative about kneading dough. The rhythmic motion of folding, pressing, and turning helps release stress while connecting you with the ingredients. It’s how you get to know your dough on a personal level.
-
Perfect Texture: Mastering how to knead dough ensures your bread rises beautifully. By developing gluten, you create that delightful chewy texture that makes bread truly irresistible. No more flat loaves or hard crusts; your bread will be fluffy and tender.
-
Creative Freedom: This technique allows for endless customization. Whether you want to add herbs, seeds, or spices, the kneading process invites you to explore and innovate.
-
Achievable Results: You don’t need to be a professional baker to achieve incredible results. This simple recipe empowers you to create bakery-worthy dough from the comfort of your kitchen.
Forget the store-bought versions—once you try your hand at kneading, you’ll find it hard to go back. There’s no greater joy than pulling a golden loaf from the oven, and knowing you made it yourself.
Tips for Perfectly Kneaded Dough
Creating the perfect dough can feel like an art form, and achieving that ideal texture requires a little practice and a few insider tips. Whether you’re tackling your first bread recipe or perfecting your pizza crust, understanding how to knead dough will set you on the right path to deliciousness.
Start with the Right Ingredients
-
Flour: Select high-quality all-purpose flour. The protein content matters! Higher protein flours promote better gluten development, yielding a chewier texture.
-
Water: Use lukewarm water for activating yeast, as it aids in gluten formation. If it’s too hot, it might kill the yeast, messing up your rise.
-
Yeast: Fresh yeast is a must. If using dry yeast, ensure it’s still active. A simple test is to see if it bubbles in water after a few minutes.
Techniques for Kneading
-
Moderate Pressure: Knead firmly but not aggressively. You’re working to develop the gluten, which gives the dough its structure.
-
Stretch and Fold: Instead of a repetitive motion, think of it as stretching and folding the dough. This encourages a beautiful, elastic texture.
-
Duration: Knead for about 8-10 minutes. You’ll know it’s ready when the dough springs back when poked and feels smooth and elastic.
Lastly, remember that perfect dough comes with practice. Embrace each kneading session as a fun learning experience, and soon you’ll be creating artisanal bread like a pro!
Time Breakdown for Kneading Dough
Understanding the duration needed for kneading dough can greatly enhance your baking experience. Mastering how to knead dough involves not only the techniques but also a sense of timing.
Preparation time
In our journey to create that perfect loaf, you’ll spend approximately 10 minutes gathering your ingredients and measuring them out. This preparation sets the stage for an enjoyable and efficient experience.
Kneading time
The kneading itself will take about 8-10 minutes. Gently folding and pressing the dough is crucial for developing gluten and ensuring a great texture in your finished product.
Total time
Overall, you’re looking at about 20 minutes from preparation to finished kneaded dough. This small investment of time leads to a rewarding process and, ultimately, delicious homemade bread.
Nutritional Facts for Kneaded Dough
Understanding the nutritional profile of kneaded dough can help you make informed choices in your cooking adventures. The ingredients you select can significantly affect the health benefits of your final product.
Calories
A serving of kneaded dough typically contains around 200-250 calories. This makes it a hearty base for various dishes, allowing you to enjoy your culinary creations without the guilt.
Protein
With approximately 7-9 grams of protein per serving, this dough is an excellent way to boost your protein intake. It makes for a satisfying foundation, whether you’re baking bread, pizza, or pastries.
Sodium
Kneaded dough can have around 350-500 mg of sodium, depending on whether you add salt during the kneading process. Being aware of this can help you manage your sodium intake, especially if you’re monitoring your overall salt consumption in your diet.
FAQs about Kneading Dough
Kneading dough is an essential skill for any aspiring baker, transforming rough mixtures into beautifully elastic textures that yield delicious bread or pizza crust. If you’re just starting with kneading, you might have several questions.
How do I know when dough is kneaded enough?
One of the best indicators that your dough is ready is its texture. Perfectly kneaded dough should be smooth, elastic, and slightly tacky but not overly sticky. A simple test involves stretching a small piece: if it can stretch without tearing, you’ve achieved the right consistency. Additionally, you can perform the “windowpane test.” To do this, take a small piece of dough and gently stretch it between your fingers. If it forms a translucent membrane without breaking, congratulations — your dough is kneaded perfectly!
Can I knead dough without a mixer?
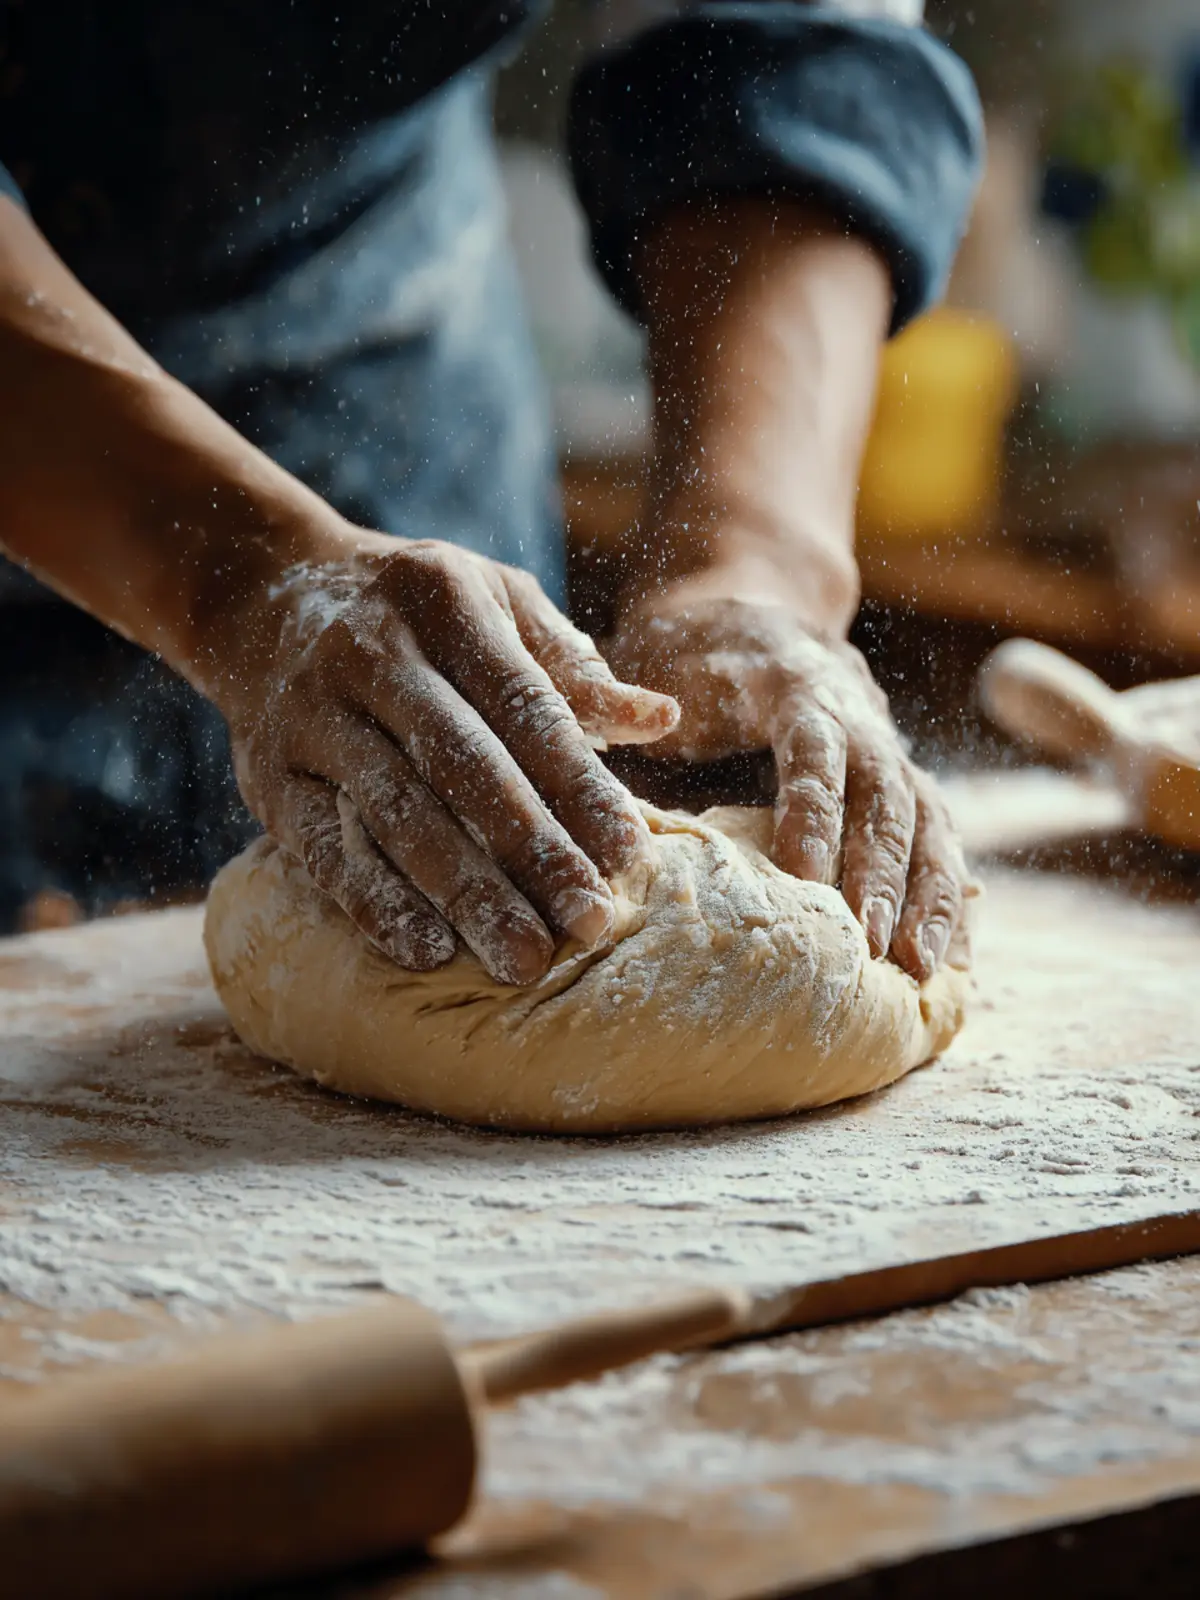
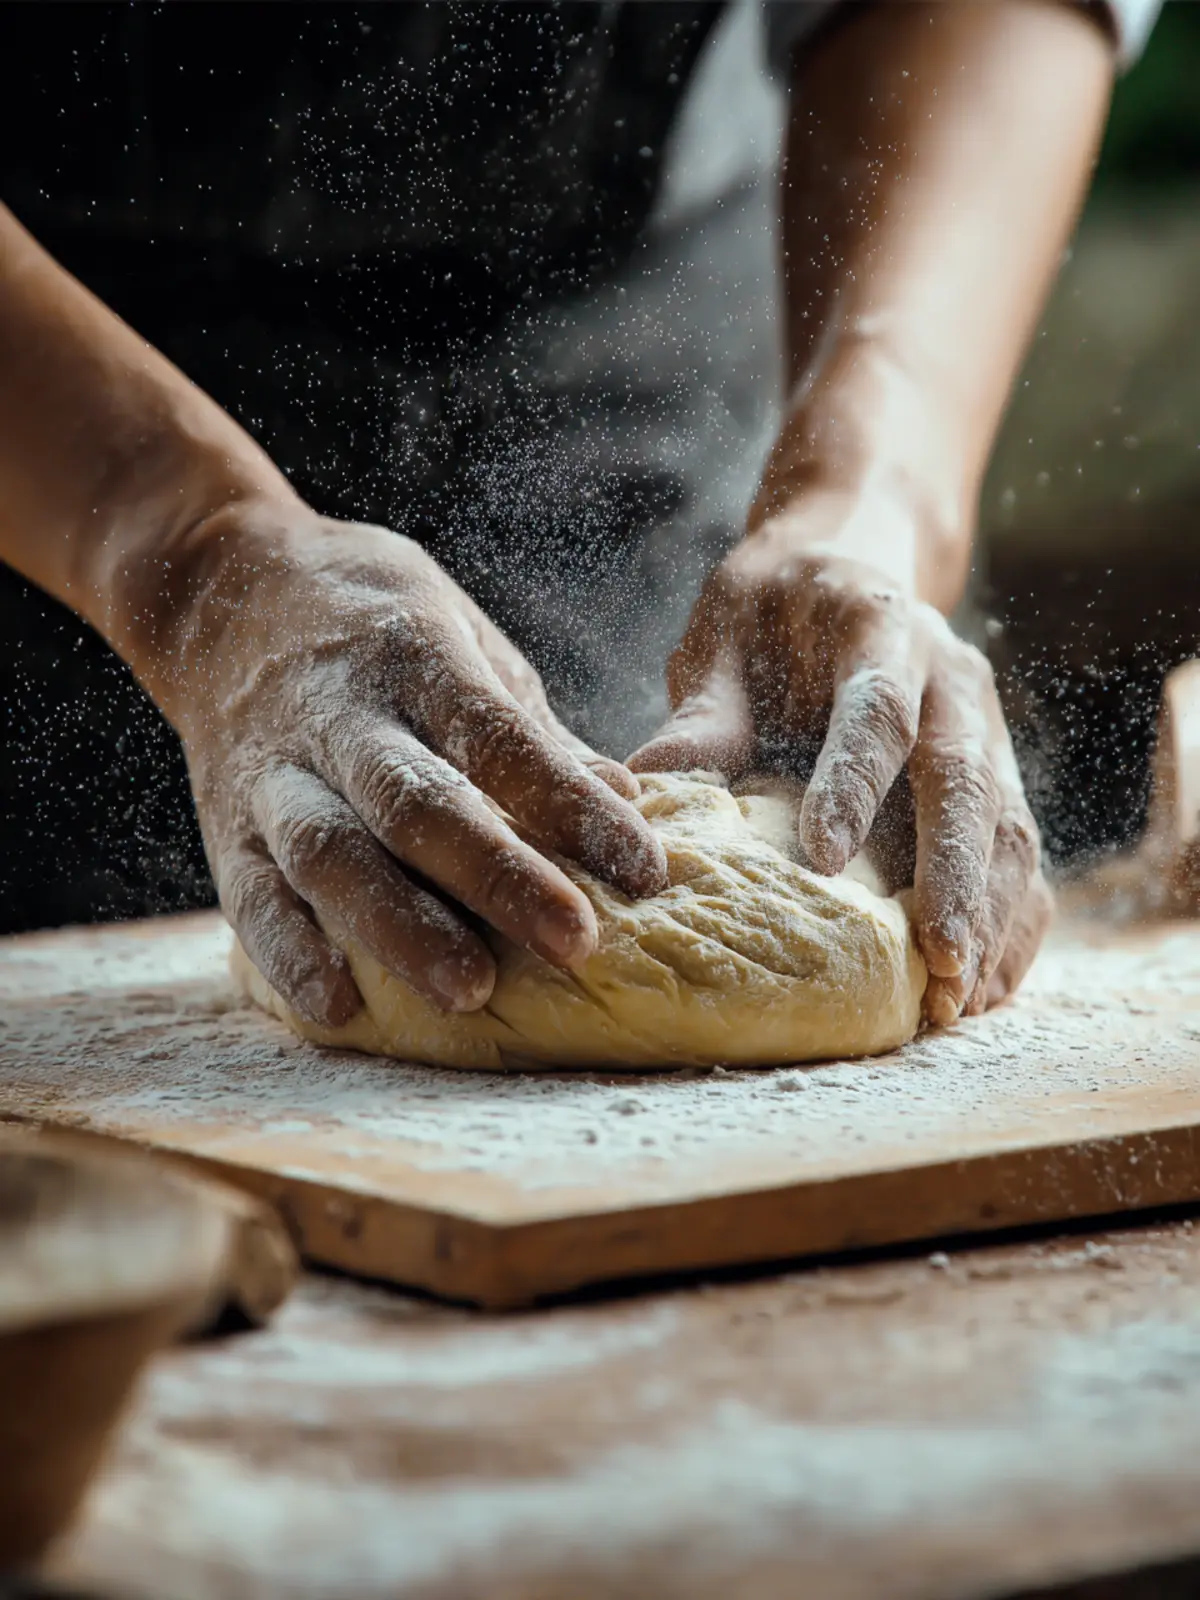
Absolutely! While a mixer can make kneading easier, you can achieve excellent results by hand. Simply place your dough on a floured surface and use your hands to push, fold, and turn the dough. This method not only gives you the satisfaction of working with your hands but also lets you feel the dough’s texture, helping you understand how to knead dough effectively.
What should I do if my dough feels too sticky?
If your dough is excessively sticky, it can be a bit frustrating. Start by adding more flour — but do so gradually. Just a tablespoon at a time can make a significant difference. Alternatively, you can coat your hands with flour before handling the dough to prevent adhesion without adding too much to the mixture. Remember, practice makes perfect! With time, you’ll develop an instinct for the right consistency.
Conclusion on Kneading Dough
Mastering how to knead dough can transform your baking experience. As you develop your technique, you’ll notice that it’s not only about the ingredients but also the love and attention you give to the process. Kneading builds the gluten, which is essential for achieving the ideal bread texture, allowing your creations to rise beautifully in the oven. Remember, practice makes perfect! If your first attempts aren’t flawless, don’t be discouraged; each session is an opportunity to improve and refine your skills. Embrace the joy of kneading, and your future bakes will be all the more rewarding. Enjoy the journey!
Print
Yeast Dough
- Total Time: 15 minutes
- Yield: 1 batch 1x
- Diet: Vegetarian
Description
This yeast dough recipe is perfect for a variety of baked goods.
Ingredients
Scale
- 1 batch yeast dough
- 1 – 2 tablespoons flour for dusting surface (if needed)
Instructions
- Lightly flour a clean countertop. Place the dough onto the surface.
- Using the heel of your hand, push the dough away from you in one smooth motion.
- Fold the dough back over itself toward you.
- Rotate the dough a quarter turn.
- Repeat the push, fold, and turn motion for 8–12 minutes, or until the dough becomes smooth and elastic.
- Test the dough using the windowpane test. Stretch a small piece of dough between your fingers. If it stretches thin without tearing, it is properly kneaded.
- Attach the dough hook to your mixer. Mix the dough on medium-low speed.
- Knead for 5–8 minutes (or as directed by the recipe), stopping occasionally to check the texture. The dough should pull away from the sides of the bowl and feel soft and elastic.
- Perform the windowpane test to confirm gluten development.
Notes
- This dough can be used for a variety of recipes that require yeast dough.
- Ensure the flour for dusting is readily available to prevent sticking.
- Adjust the kneading time based on the dough’s texture.
- Prep Time: 15 minutes
- Cook Time: 0 minutes
- Category: Baking
- Method: Kneading
- Cuisine: Various
Nutrition
- Serving Size: 1 batch